

Introduction
In this article, I will take you on the journey of making your very first open-source contribution. Along the way, I'll share the valuable lessons I learned, and I'll show you, as a beginner, how you can embark on your own open-source contribution journey 🚀. It is recommended to have some knowledge of version control systems. So, let's dive in and explore the world of open source together!
What the Heck is Open Source?
Open source projects are public collaborations where anyone can suggest changes, make improvements, and contribute. This benefits both the project's creator and the contributors, creating a win-win 😎 scenario for all involved.
But How Does it Benefit Me?
The straightforward answer is that it fuels your personal growth 📈. Contributing to open source is a win-win situation because it provides you with a firsthand understanding of how codebases function in real-world, production-level projects. Beyond that, it allows you to establish your presence in the community, opening doors to a world of opportunities 💼.
Exciting, isn't it? 😃 Let's now explore how to make your very first open-source contribution.
Choose a Project
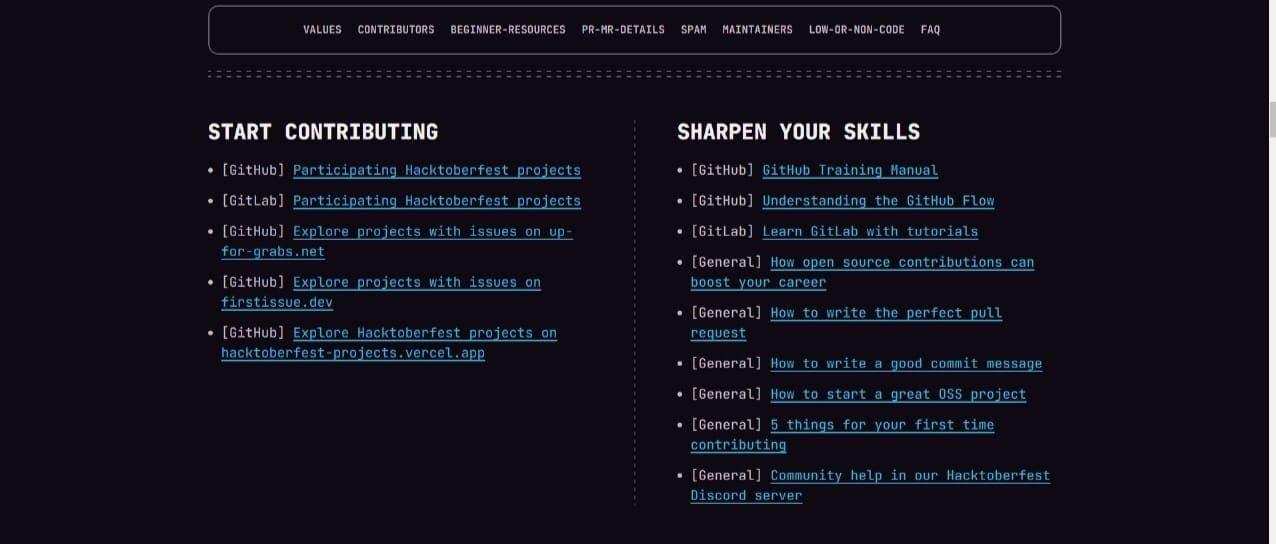
As we know Hacktoberfest is going on and it's the best time to make open-source contributions. go to Hacktoberfest's official website to register yourself. Go to the Participation page and scroll down and locate participating projects. You will be redirected to a list of various amazing projects participating. Select a repository among it. Choose a project 📚 that aligns with your interests, skills, and goals. It's essential to find a project that excites you, as this enthusiasm will drive your contributions. Personally after analyzing I decided to go with Freecodecamp's repository.
Review the README for Contribution Guidelines
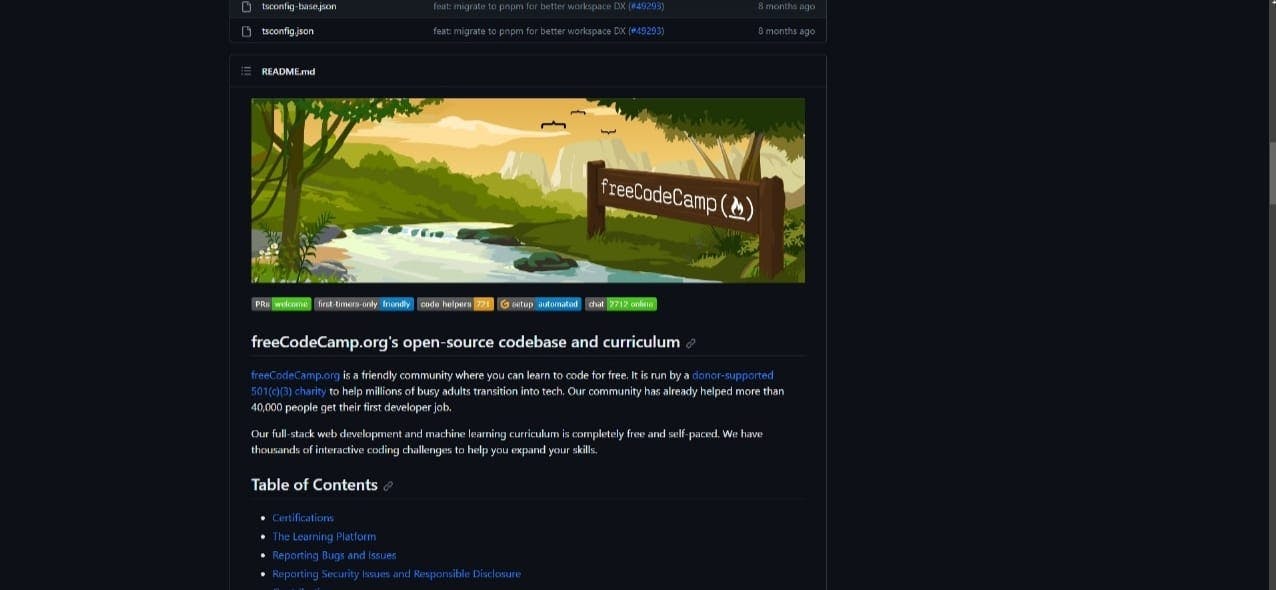
Since you're now a part of an open-source project, it's crucial to follow the guidelines established by the project's author. These guidelines are typically outlined in the project's README section. Take the time to carefully read the README 📖 to understand the rules and recommendations for making contributions.
Pick an Issue
Now, navigate to the "Issues" section of the repository and look for issues labeled as "Hacktoberfest." It's also a good idea to search for issues marked with "good-first-issue."
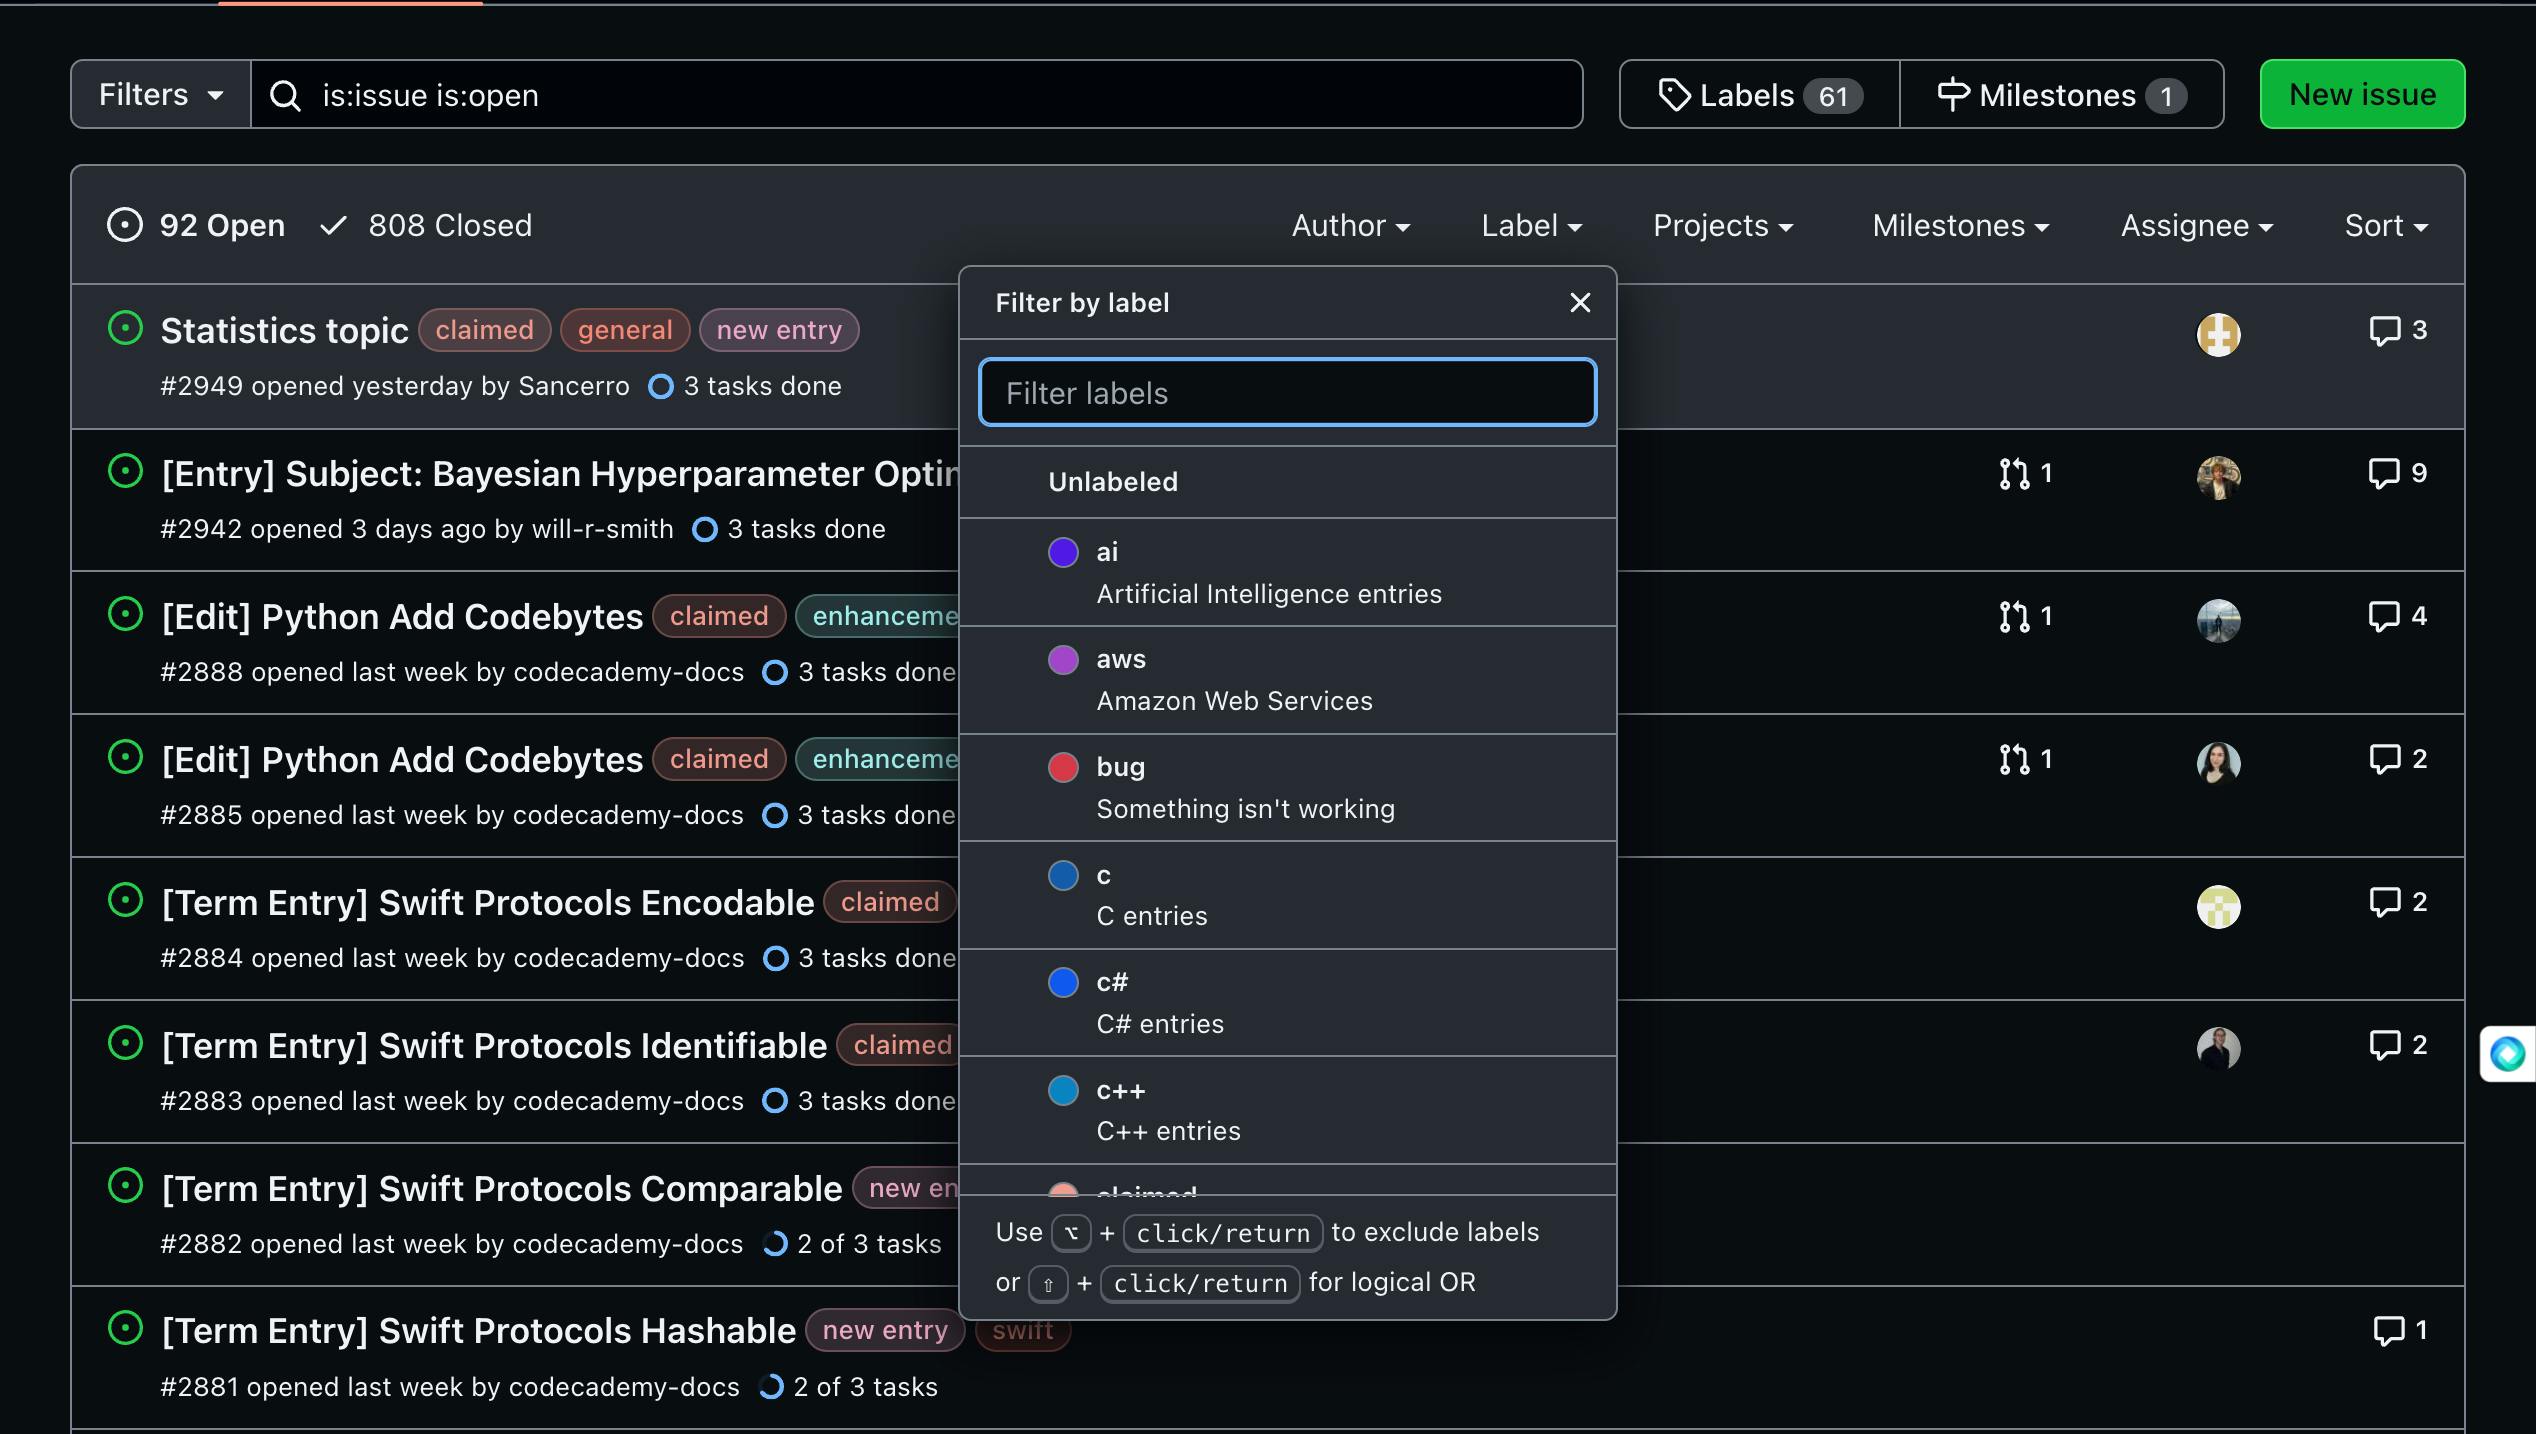
Once you've identified an issue, take the time to thoroughly read and understand its details. If you require additional information or clarification about the issue, don't hesitate to ask by leaving a comment. When you're ready to work on the issue, you can simply add a comment saying "Assign me." In some repositories, this step may not be necessary but always refer to the project's contribution guidelines for specific instructions. Once the issue is assigned to you, you're all set to get started.
I picked up an issue regarding writing the e2e test for 404 page.
Fork the Repository
The next step is to fork the chosen repository. This action creates your personal copy of the project where you can make changes. Ensure that your forked repository remains up-to-date with the original project repository.
Now that you are done with the basic setup and you have the codebase, it's time to solve the issue.
Break the Keyboard!!

You've got this! The next step is to:
Create a new feature branch from the main or the specified branch. Name it something meaningful related to the issue you're working on.
Work on the issue in small chunks, writing clean code and adding useful commit messages at each step.
🧪Test your code at each step to ensure it works as intended.
When you're ready, push your feature branch up to your forked repository on GitHub. This allows you to save your work and create a pull request when the feature is complete.
Don't worry about making mistakes along the way. It's a learning process! The important thing is to keep moving forward, committing early and often, and asking for help when you're stuck.
When you're confident that your changes are complete, it's time to initiate a Pull Request (PR).
Raising the PR
Now follow these steps to raise a PR 🚀:
Go to your forked repository on GitHub.
In the top left, select the dropdown that says "main" or the default branch, and change it to your feature branch.
Check that your feature branch is up to date with the upstream repository by clicking the "Sync fork" button. This will fetch any changes from the main repository and merge them into your fork.
Press the "Contribute" button in the upper right.
Click the "Open pull request" button.
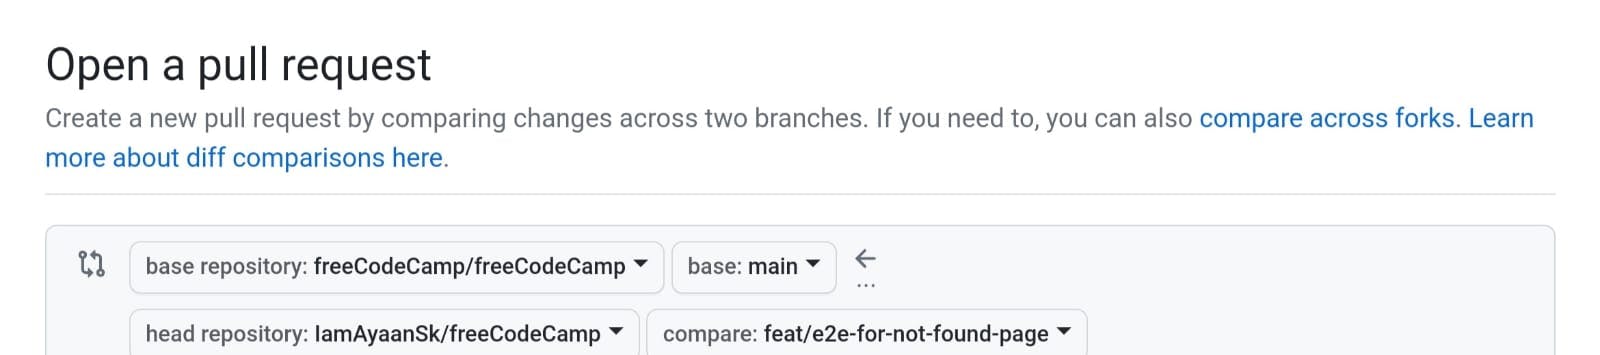
You'll be redirected to the "Open a pull request" page.
Set the base repository as the original repository you forked from.
Set the base branch as the branch you want to merge your changes into, usually "main".
The head repository will be your fork, and the compare branch will be your feature branch.
Type a clear, descriptive title and details for your pull request. Explain what changes you made and why.
Click the "Create pull request" button to open the pull request
And Boom!! Congratulations on creating a PR. Now maintainers will be notified and they will review your request.
Be Patient
Take a deep breath and relax! After you've submitted your PR, it's perfectly normal to feel a bit eager. Pop in from time to time and see if there are any suggestions from maintainers. Embrace the chance to work on those improvements and then push them to your feature branch and your PR will update itself automatically. So, enjoy the process and keep up the awesome work!
Celebrate

Whether your pull request is merged or not, don't forget to celebrate your progress! 🥳 Creating and submitting your first PR shows that you have the courage and determination to contribute to an open-source project.
The act of contributing itself is a victory - you've made your presence known in the community and demonstrated your skills. You've also learned valuable lessons through the experience, from writing high-quality code to interacting with maintainers and incorporating their feedback.
So take a moment to feel proud of yourself! You've grown as a programmer and problem-solver by going through the pull request process. This experience will serve you well as you continue your coding journey and submit future pull requests.
Conclusion
Making your first open-source contribution can be intimidating, but as you've seen, the process is quite straightforward. The most important thing is taking that first step and choosing a project that interests you. From there, following the contribution guidelines, picking an issue to work on, forking the repository and creating a pull request are relatively simple technical tasks.
The real value lies in the experience itself. You get to learn from more experienced developers, improve your own code through feedback, and establish yourself as part of an active open-source community. Even if your first pull request isn't merged right away, don't let that discourage you 💪. Use it as an opportunity for growth.